hey guyz lots f ppl ask about the glow effect that khushi di have on her s but i found something similar to thaty its only for phothosp i will post it up right here
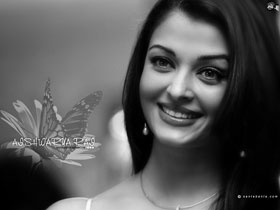
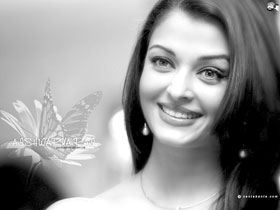
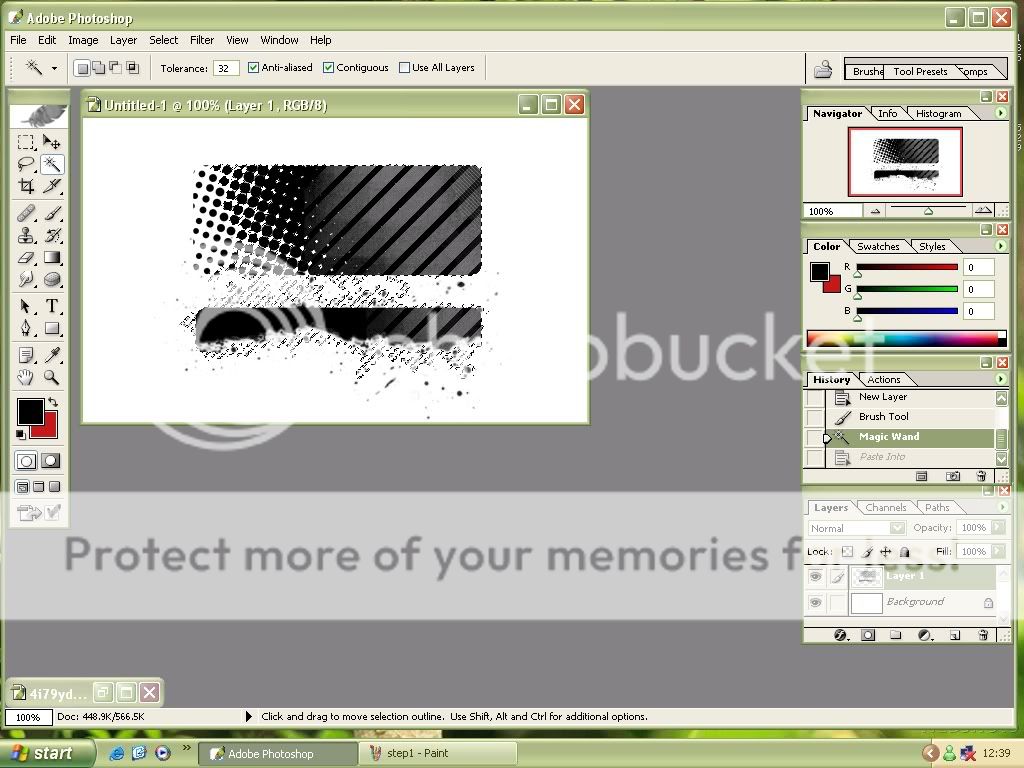
Step 1. First of all I opened this photo in Adobe Photoshop. I used the command Image ->Adjustments -> Levels ( or in layer palette the fourth one button from left *create new fill or adjustment layers) to make the image brighter.
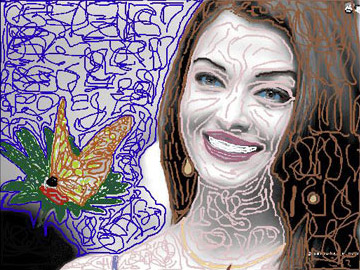
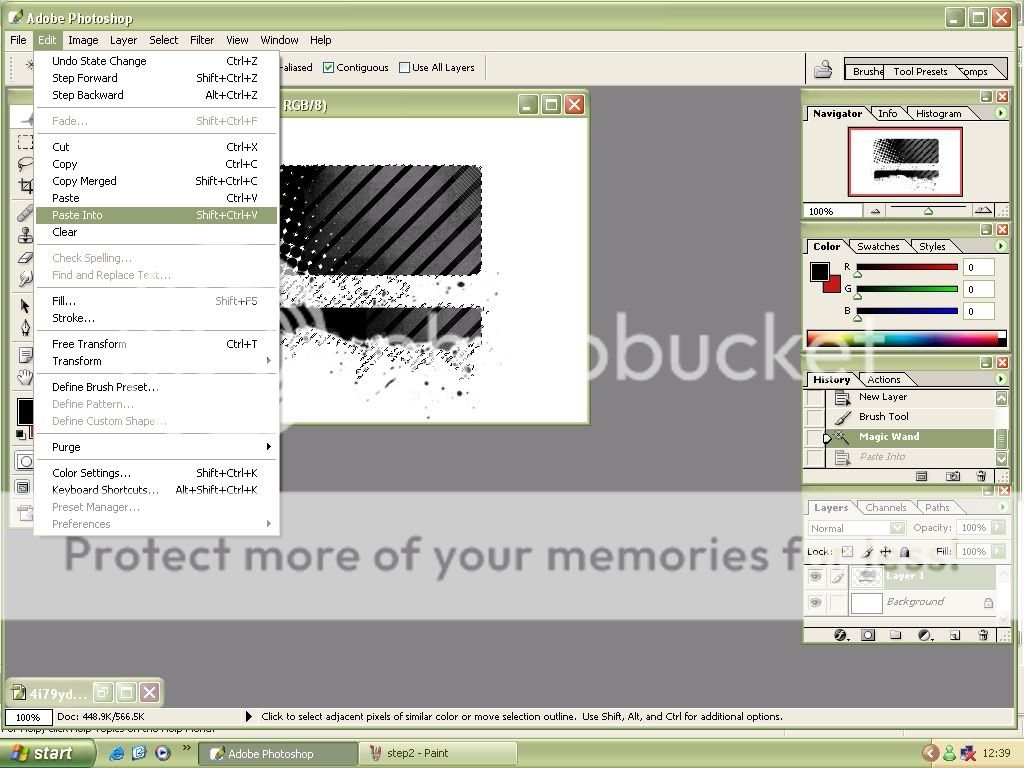
Step 2. Then I call the command Filters -> AKVIS -> Coloriage. Here I start to color my photo. I use the color pencil to color my photo. I try my best to draw very accurate border lines to give a very accurate color to my photo (as shown below).
I gave gray color to her hair and blue to eyes and white to her teeth and light pink to her lips (lips, eyes, teeth and eyebrow, necklace are circled with skin color).
It was a very hard to color the butterfly and flower but I did my best to mark the edges of them.
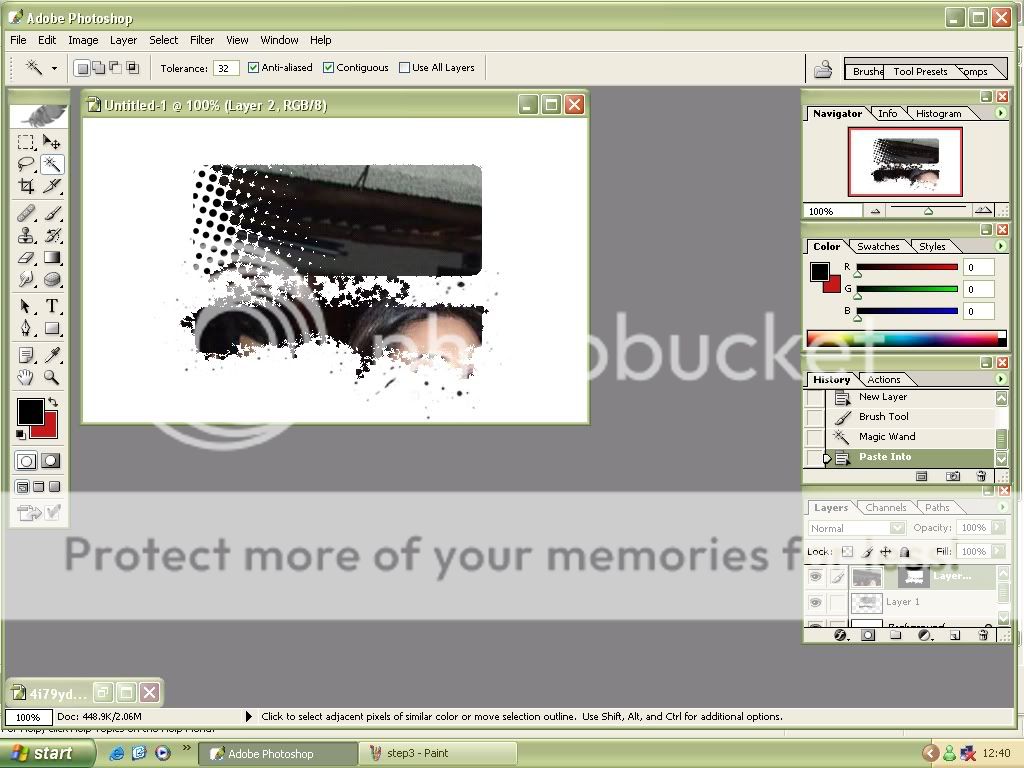
Step 3. Then I pressed the play button

to see the result of my all work and here is the result.
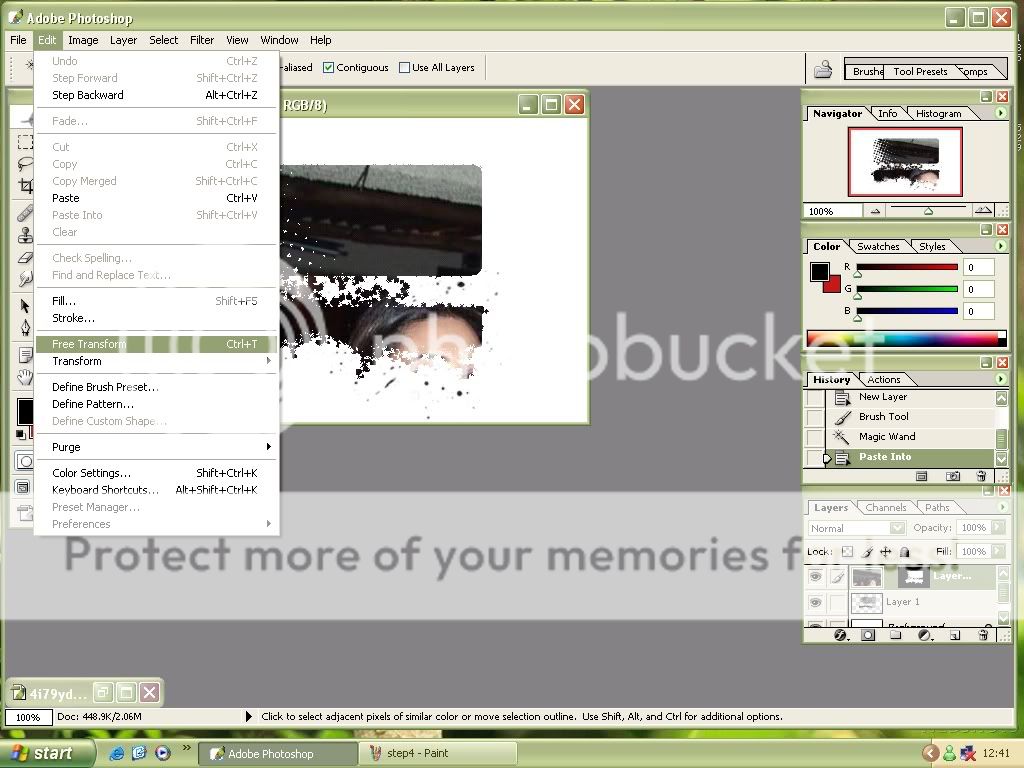
Step 4. The colorization result is applied and the plug-in's window is closed.
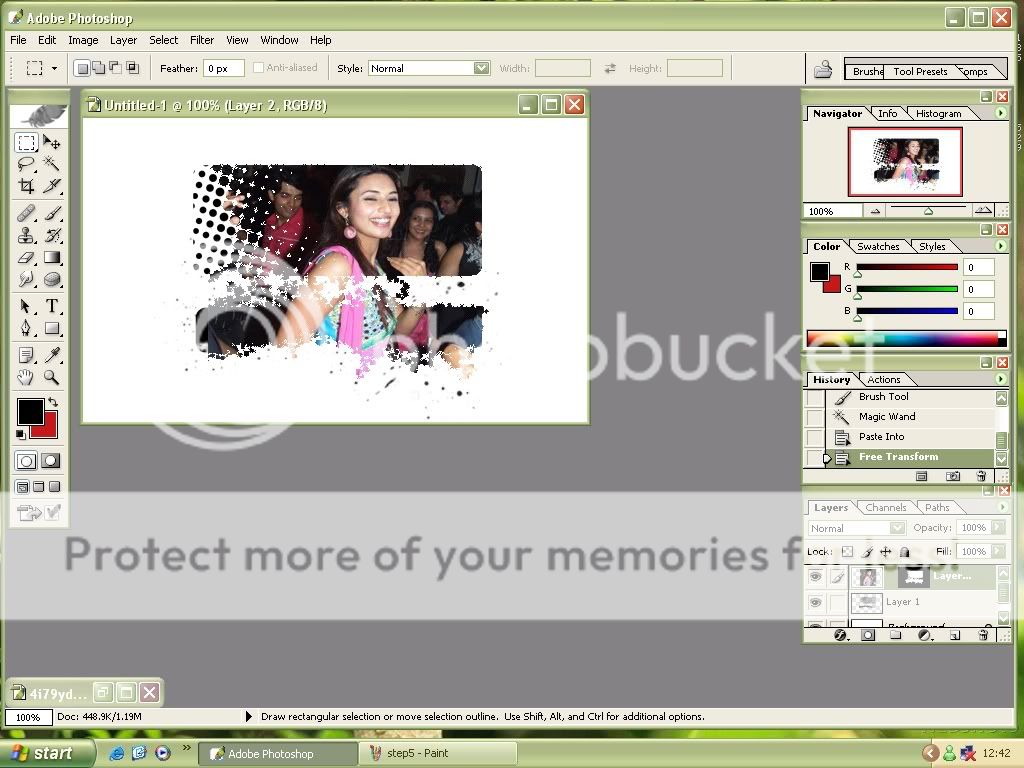
Step 5. But I found that the teeth are not white.
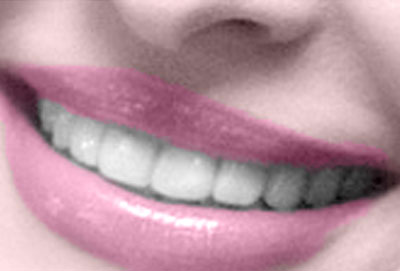
To brighten her smile, start by going to the Layers palette and clicking on the Background Layer to make it the active layer. Then use the Lasso tool (or any selection tool you're comfortable with) to put a selection around her teeth (as shown). Once selected, we'll need to soften the edges of the selection so our retouch isn't obvious, so go under the Select menu and choose Feather. When the Feather dialog box appears, enter 2 for low res images, 5 for high res, and click OK to apply this edge softening. Then go under the image menu and choose Adjustment and then choose Hue/Saturation. And in my case to reduce the darkness I increase the value of Lightness, and press enter.

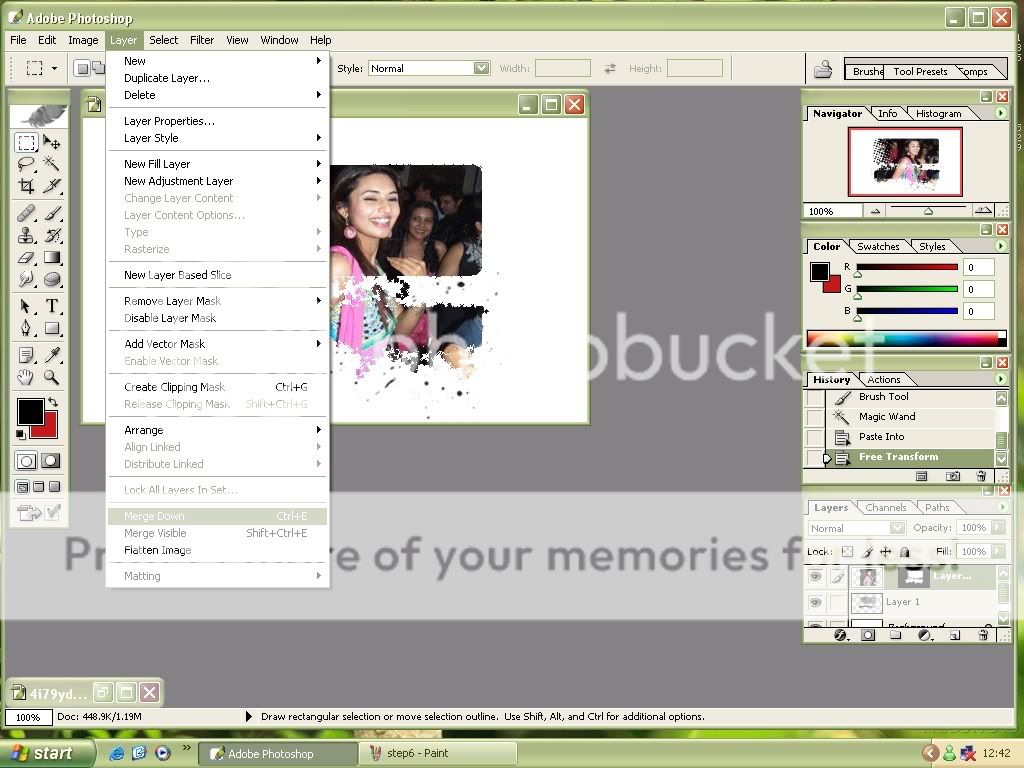
Step 6. This photo was a little much noised (as shown below), so here I reduced the noise by using AKVIS Noise Buster (Filter -> AKVIS -> Noise Buster).
http://akvis.com/img/examples/coloriage/ayshwarya-ray-photo/ noise-buster.jpg
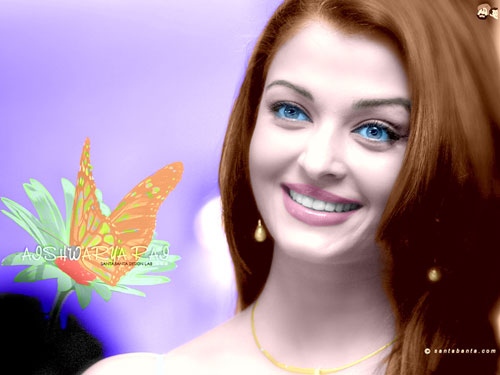
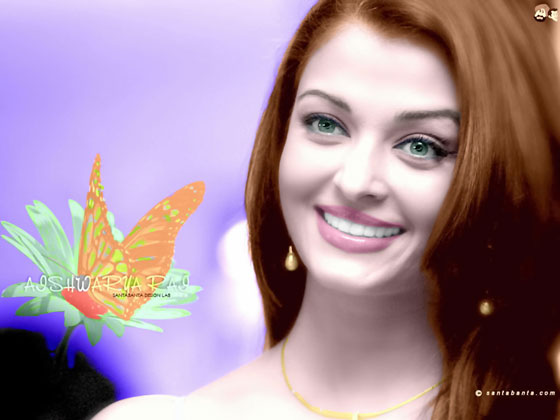
And there is my final color photo as shown below.

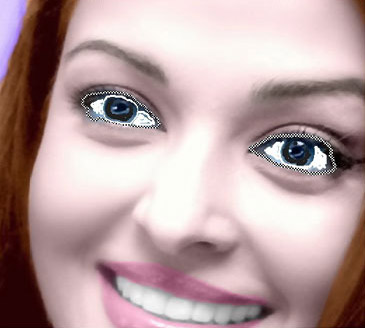
Step 7. Now the Picture is Good but Her Eyes are too Blue,
Sclera Must be White: Now my aim is to white the sclera and to change eye color. So i started from here again with Akvis Coloriage Filter for making these changes.
Again I went to the filter Menu (in Adobe Photoshop) AKVIS Coloriage. Here I started with keep color pencil to draw a very close border around her sclera and I gave it white color. I also gave a black (natural color) to eyeball.
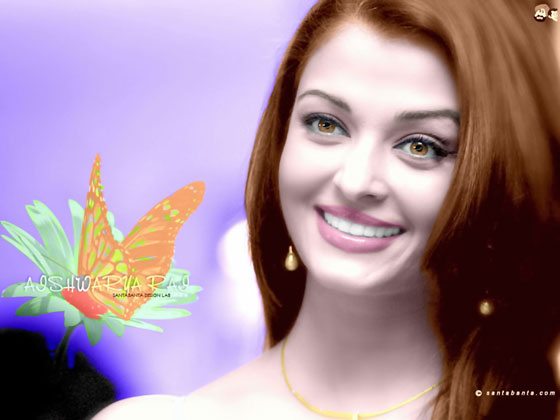
Here Is The Procedure For Making Brown And Light Greenish Eyes.
The thing is to choose the color, mean to say that which is perfect color for your job. And it is very easy in Akvis Coloriage. Just give color and then press the run button .
If you are not satisfied with this just press Before and use eraser tool located in control panel and give another color to it. As I told you before that Akvis Coloriage Filter is on of the easiest and best solution for you complicated problems which you have with your Black & White Photos.
hope this will help u guyz
luv
tina


comment:
p_commentcount