
Posted:
Hello Everyone !
You must have got the impression from the thread's title of what is this all about!
this is a tutorial for
H O W T O M A K E A VM.
Actually this was requested on fb by #Prateeksha
this is just a BASIC tutorial for you who do not know to make a Vm
The tutorial is for KineMaster though i use lots of vedio editor but for now
KineMaster is my favourite According to me KineMaster isoneof the best
Vedio - editing app for Android
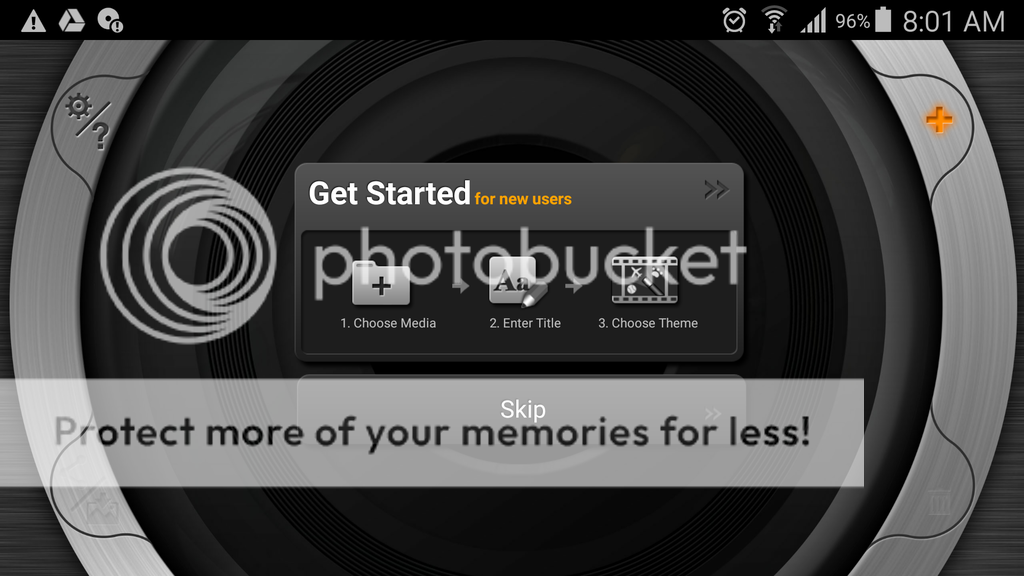
When you first launch the app, you're invited to venture down the New Users' route, which guides you through the basics of adding media to a new project. After the first time, I just skipped this though and went straight to the main new project' view.
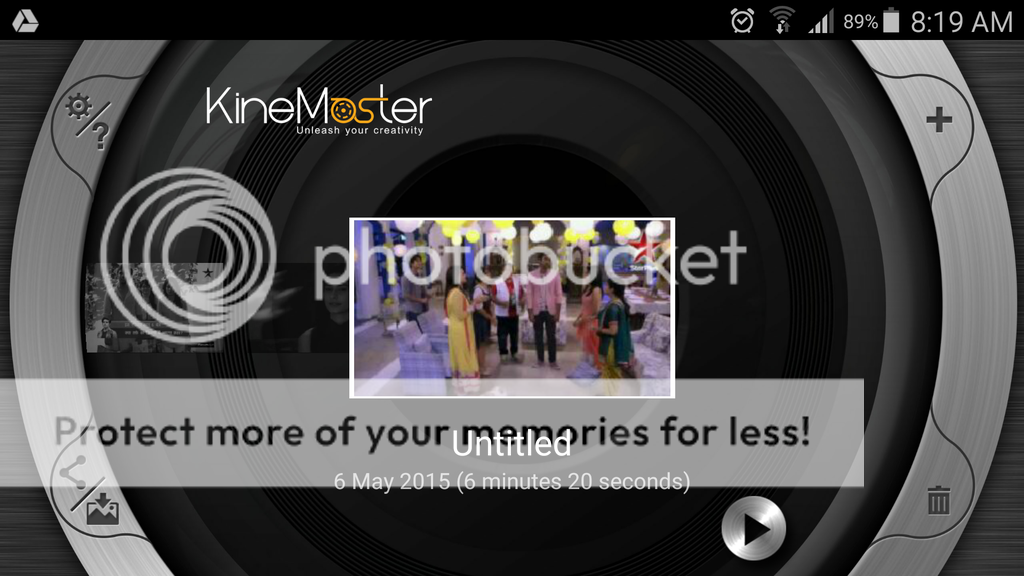
If you already have a number of projects created, you will see these in a horizontally-scrolling list first, before you decide you wish to create a new project by hitting the little +' icon.
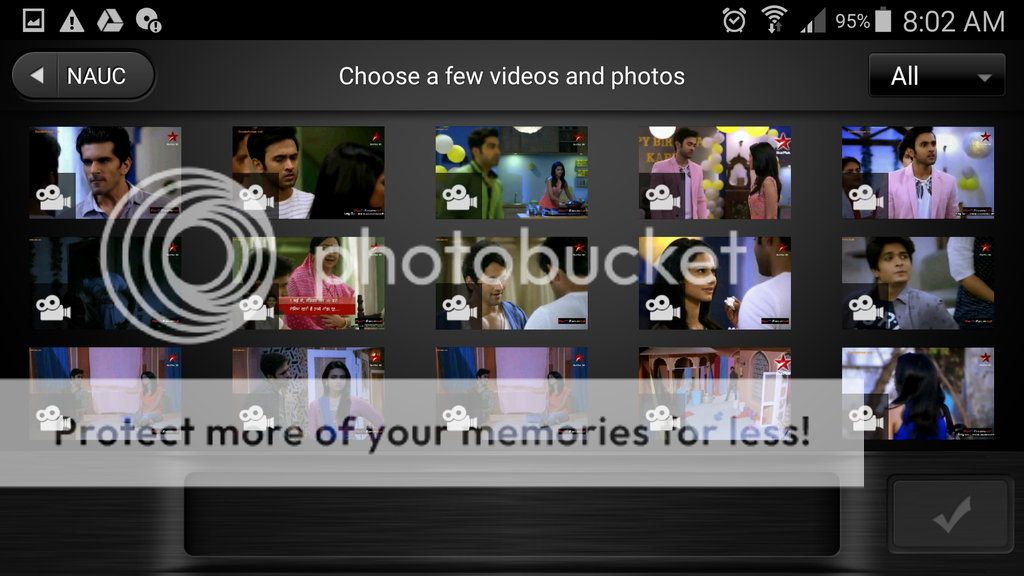
When creating a new project, you can choose to view all photos and videos on your device from the myriad of folders you may have, or you can select to just view the video clips. This suits various uses - if you want to create a photo slideshow with music, you can do so easily.
In terms of supported formats, well, with video you can choose from .mp4, .3gp and .mov, while you're restricted to .jpg and .png for images. For sounds you have .mp3, .mp4a and .aac at your disposal.
With all your clips selected, you simply order them in your timeline as you would with any other editing app. Long-press and hold a clip to shift or delete it, hit the Add Media' icon to reel in new content, add music from your device, or add a theme' to your video, which includes pre-made animation effects.
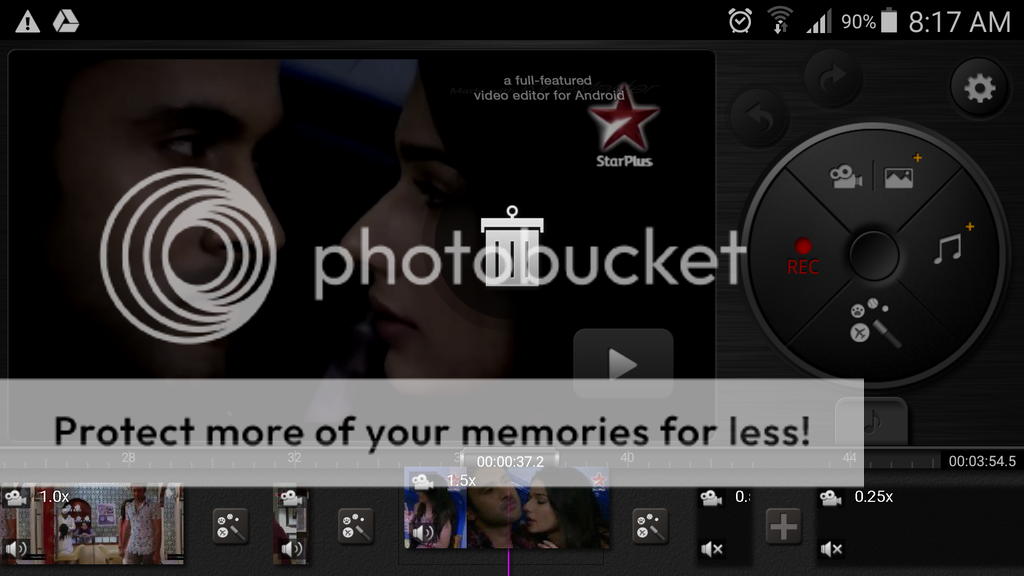
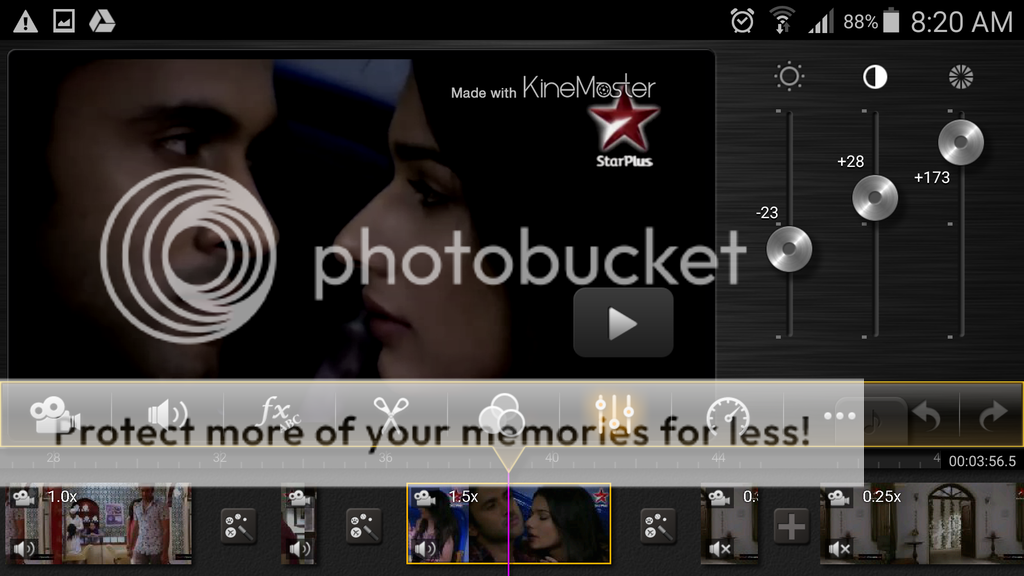
To edit, you just tap a specific clip, and you're presented with a number of options. You can raise/lower the hue, brightness or saturation on a specific part, trim it down, add titles, lower/increase the volume, control the speed, add effects/transitions and more.
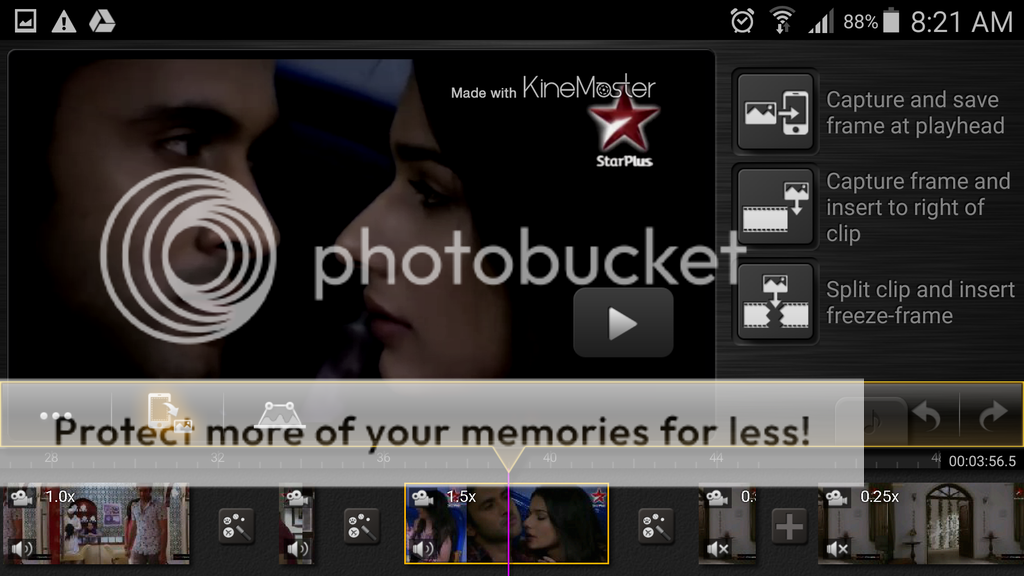
There are also a number of extra features that could prove useful for power-users, such as the ability to capture and insert a specific frame to create a pause' effect in the video, or to include in opening/closing credits.
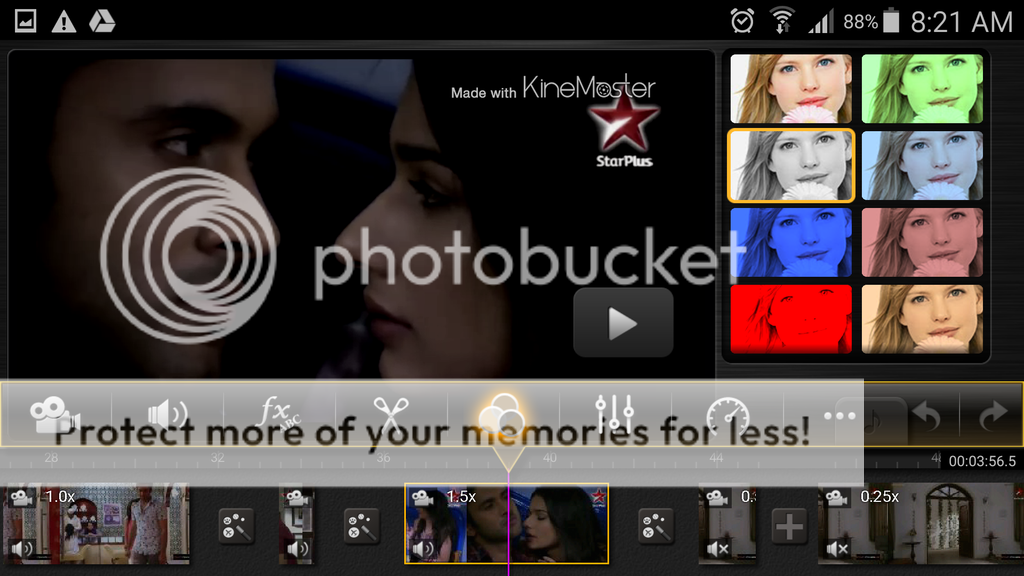
You can also give your video a color makeover, or convert it to black-and-white.
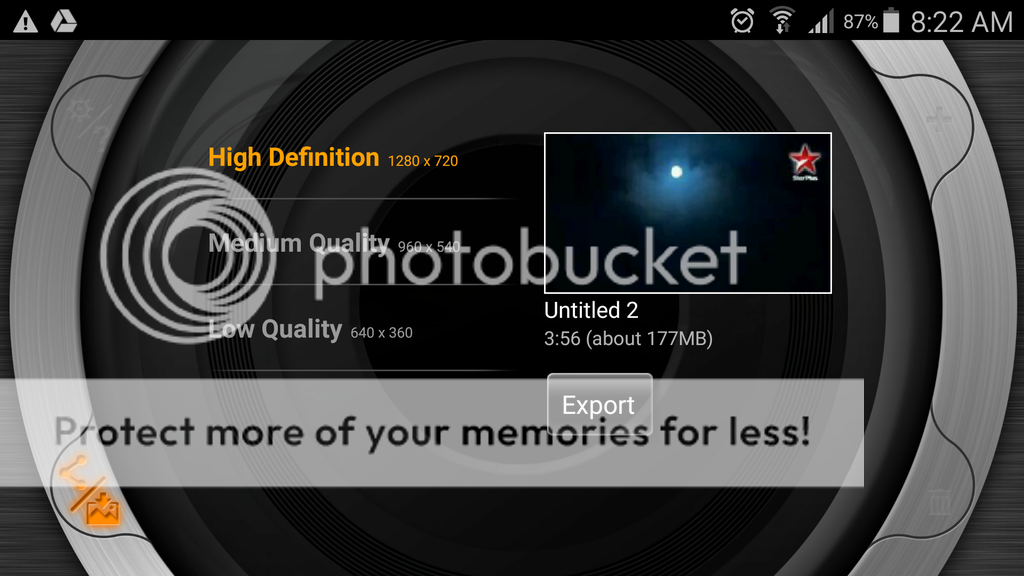
In terms of exporting, you can do so in low-quality (640 x 360), high-definition (1280 x 720) or Full HD (1920 x 1080), direct to Facebook, Google+, YouTube, Google Drive, Dropbox and any other compatible apps via the general share' button.
While you can save the video directly to your device to upload manually to YouTube, Vimeo or wherever, it is useful being able to export directly to these services from within KineMaster too, with the ability to give your creation a title, description, tags and more.
Kinemaster FEATURES
If you have any query regarding this,feel free to ask.
Regards,
Black_Angel


comment:
p_commentcount